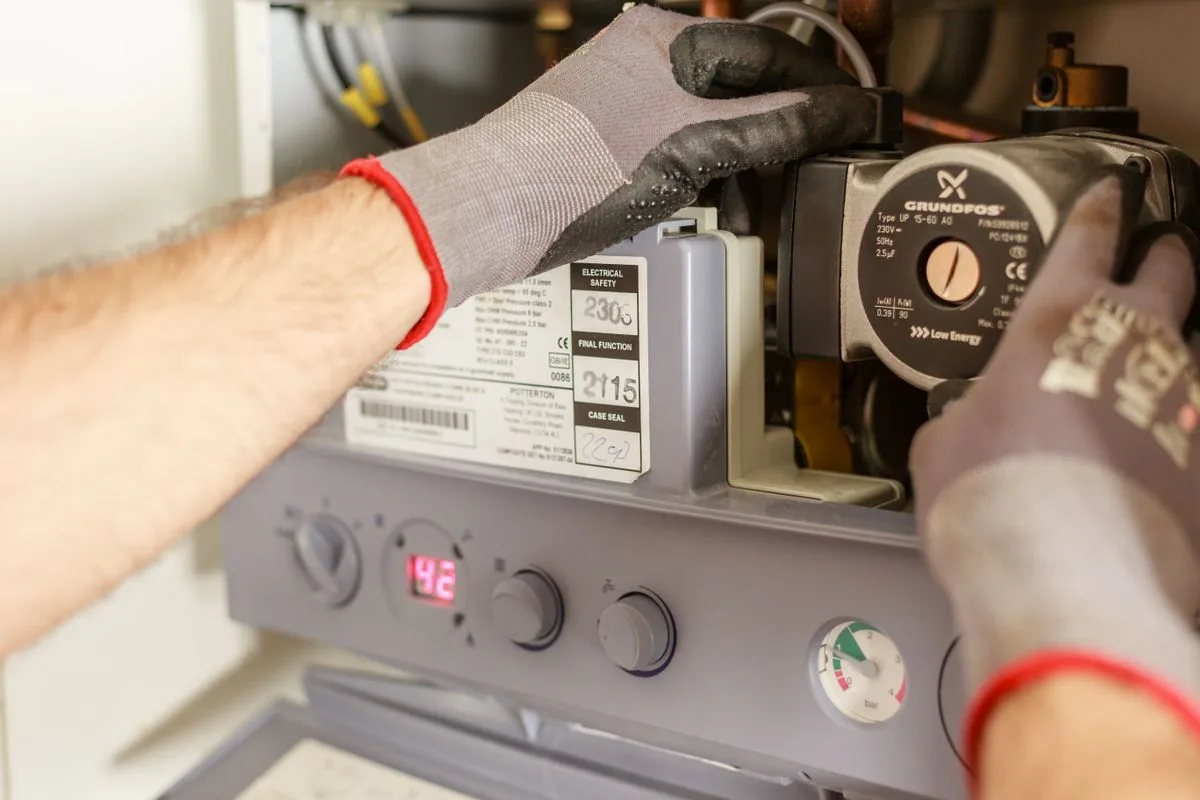
Water heater winter maintenance in Florida starts with a scene like this one: it is Thanksgiving morning. The house is full, the turkey is in the oven, and your college kid just stepped into the shower — only to sprint back out under a stream of lukewarm water. The water heater in your garage has been humming along all year without a single thought from you, and it picked the busiest week of the year to give up. This scenario plays out in Florida homes every holiday season, and it is almost always preventable.
Florida winters do not look like winters anywhere else. Daytime highs hover in the 70s while overnight lows dip into the 40s, and a few times each season a cold front pushes temperatures into the 30s. Your water heater barely notices the daytime warmth, but it feels every cold night — especially when the unit sits in an unconditioned garage, attic, or exterior closet, which describes most Florida installations. Add a house full of holiday guests doubling or tripling your hot water demand, and the weakest link in the system fails right on schedule.
This guide walks you through the same winter prep routine a plumber would perform: flushing sediment, inspecting the anode rod, testing the safety valve, dialing in the thermostat, deciding whether insulation is worth it, descaling a tankless unit, and checking whether your heater is simply too old to trust through the busy season. Some steps are easy DIY work. Others are worth paying a professional for. Either way, doing this in November costs a fraction of an emergency replacement in late December.
Why Florida Winters Are Harder on Water Heaters Than You Think
The enemy is not the cold exactly — it is the combination of colder incoming water and much higher demand. In August, water entering your home from the municipal supply can be 78 to 80 degrees. During a January cold snap, that same incoming water can drop to 55 degrees or lower. Your water heater has to raise the temperature more than twice as far to reach the same 120-degree setpoint, which means longer burner or element run times, more wear on every component, and slower recovery between showers.
Florida homes add two more complications. First, hard water. Much of the state pulls from limestone aquifers, and that mineral-rich water leaves sediment in the bottom of every tank-style heater. A tank that has never been flushed can hold several inches of hardened sediment, which acts like insulation between the burner and the water. The heater runs longer, burns more gas or electricity, and the bottom of the tank overheats — the leading cause of premature tank failure in Florida. Second, installation location. Because basements are rare and space is tight, Florida water heaters usually live in garages, attics, or outdoor closets where they are exposed to every cold snap and every humid summer. That environment accelerates corrosion and heat loss.
The holiday factor multiplies all of it. A household of two that uses 40 gallons of hot water a day can easily jump to 100 gallons or more with guests, back-to-back showers, extra laundry, and a dishwasher running twice a day. A marginal heater that limps along fine for two people will reveal every weakness under that load. Prepping now means you find the weak points on your schedule, not at 7 a.m. on a holiday.
Step 1: Flush Sediment Before the Holidays
Sediment flushing is the single highest-value maintenance task for a tank water heater, and it matters more in Florida than in most states. Calcium and magnesium precipitate out of heated water and settle on the tank floor. Over a year or two, that layer can be an inch thick. Over five years of neglect, it can be several inches of concrete-like scale. The symptoms creep up gradually: the unit rumbles or pops during heating, hot water runs out faster than it used to, and energy bills climb for no obvious reason.
You can flush a tank yourself in about 45 minutes. Turn the thermostat to its lowest setting or pilot, shut off the cold-water inlet valve, and attach a garden hose to the drain valve at the bottom of the tank. Run the hose to a floor drain, driveway, or somewhere the hot, sediment-laden water will not scald anyone or kill landscaping. Open the drain valve and let the tank empty, then briefly open the cold-water inlet to stir up remaining sediment and flush it out. Repeat until the water runs clear. Then close the drain valve, refill the tank completely, and only then restore power or gas — heating elements will burn out in seconds if they fire in a partially filled tank.
In hard-water areas, flush once a year at minimum; every six months is better. A professional flush typically costs $150 to $250 and includes a full inspection, which is money well spent if you are not comfortable working around gas lines or 240-volt wiring. If you prefer to hand the whole job off, our water heater services include flushing, inspection, and tune-ups.
Step 2: Inspect the Anode Rod
The anode rod is a sacrificial metal rod — usually magnesium or aluminum — that hangs inside the tank and corrodes so the steel tank does not. It is the reason a steel tank survives a decade of holding hot water. When the rod is fully consumed, the tank itself starts corroding, and failure follows within a year or two. In Florida's mineral-heavy water, anode rods typically last 3 to 5 years, shorter than the national average.
Checking the rod takes a 1-1/16-inch socket, a breaker bar, and some caution. Shut off the water and relieve pressure first, then unscrew the hex head at the top of the tank. Pull the rod up and look at it: if it is down to a thin wire, coated in calcium, or less than half an inch thick, replace it. A new rod costs $30 to $60 at a supply house, and a plumber will typically charge $150 to $300 installed. Compare that to $1,200 to $2,800 for a full tank replacement, and the math is obvious.
Some heaters use a combination anode rod built into the hot-water outlet nipple, which is trickier to service. If you are unsure which type you have, check the owner's manual or have it inspected during a tune-up. Replacing a spent anode rod on a 6-year-old heater can easily add 3 to 5 years to its life — it is the cheapest life-extension in all of plumbing.
Step 3: Test the TPR Valve
The temperature and pressure relief (TPR) valve is the most important safety device on your water heater. If the thermostat fails and the tank overheats, the TPR valve opens at 150 psi or 210 degrees and dumps scalding water before the tank can rupture. A failed-closed TPR valve turns a malfunctioning heater into a genuine explosion hazard. Testing it takes 30 seconds and should be done at least once a year.
Place a bucket under the discharge pipe, then lift the valve's test lever partway and let it snap back. You should hear a rush of hot water into the discharge pipe, and the valve should reseat fully with no dripping afterward. If nothing comes out, or if it dribbles continuously after testing, the valve needs replacement. A TPR valve costs about $15, and a plumber will charge $100 to $175 to replace one, including verifying that the discharge pipe terminates correctly — it must run downward to within 6 inches of the floor, with no threads or caps on the end.
If your TPR valve is discharging on its own without being tested, do not ignore it. That usually means the thermostat is failing, the water pressure is too high, or the thermal expansion tank has failed. Any of those needs professional attention promptly.
Step 4: Set the Thermostat to 120 Degrees
Most water heaters ship from the factory set to 140 degrees, and many installers never adjust it. Turning it down to 120 degrees is one of the simplest winter prep steps, and it pays off three ways. First, safety: water at 140 degrees causes third-degree burns in about 5 seconds, while 120-degree water takes minutes — a meaningful difference with kids or elderly guests in the house. Second, energy: every 10 degrees you lower the setpoint saves roughly 3 to 5 percent on water heating costs. Third, scale: mineral scale forms far faster at higher temperatures, so 120 degrees slows sediment buildup.
On electric heaters there are two thermostats — upper and lower, behind access panels — and both must be set to the same temperature. Adjust them with a flathead screwdriver after shutting off the breaker, and never touch the wiring with the power on. On gas heaters, turn the dial on the gas control valve; many dials are marked with warm, hot, and very hot rather than numbers, so check the manual for which position corresponds to 120 degrees.
One caveat: 120 degrees is the minimum recommended to control Legionella bacteria, so do not go lower chasing savings. If anyone in the household is immunocompromised, talk to your plumber about 130 to 140 degrees paired with a thermostatic mixing valve at the fixtures — the valve blends cold water in so taps stay safe while the tank stays hot enough to suppress bacteria.
Step 5: Decide Whether an Insulation Blanket Is Worth It
Insulation blankets are fiberglass wraps, usually R-8, that go around the tank to slow standby heat loss. In a cold climate they are a no-brainer. In Florida, the answer depends on where your heater lives. A tank in an unconditioned garage or outdoor closet that drops into the 40s on winter nights will lose noticeable heat through its walls, and a $25 to $45 blanket can cut standby losses by 25 to 45 percent, paying for itself in a single heating season.
Skip the blanket if your heater is a newer high-efficiency model with factory foam insulation rated R-16 or higher — adding a blanket gains almost nothing. Never insulate a tankless unit, and never cover the top of a gas heater, the burner access panel, the thermostat, or the TPR valve. Blocking airflow to a gas burner creates a carbon monoxide risk, and covering the TPR valve defeats the safety device you just tested.
Water Heater Winter Maintenance, Step 6: Tankless Descaling
Tankless water heaters do not store water, so they never need sediment flushing — but Florida's hard water punishes them in a different way. Minerals plate out on the heat exchanger, narrowing the passages and forcing the unit to work harder. An unmaintained tankless heater in hard water loses efficiency every year, and the manufacturer will deny a warranty claim if you cannot show maintenance records. Most brands recommend descaling every 12 months, or every 6 months in very hard water.
Descaling means circulating white vinegar or a manufacturer-approved descaling solution through the unit using the service valves and a small submersible pump — a bucket, two washing-machine hoses, and about an hour. If your installer did not fit isolation service valves, a plumber needs to add them first, which adds $150 to $300 to the job. A professional descale typically runs $150 to $250 and includes cleaning the inlet filter screen and checking the condensate drain line, which can clog with algae in Florida's humidity and shut the unit down.
If you are weighing tank versus tankless before the busy season, our comparison of tank vs. tankless water heaters in Florida breaks down the real costs, lifespans, and maintenance differences.
Step 7: Check Your Unit's Age and Warranty Before the Busy Season
Every water heater has a date code stamped into its serial number, usually on the rating plate. Most manufacturers encode it in the first few digits — for example, a serial starting with 1712 might mean December 2017, though the format varies by brand. Look up your manufacturer's decoder online; it takes two minutes and tells you exactly how old the unit is.
That age matters because tank heaters last 8 to 12 years in Florida conditions, and tankless units last 15 to 20 with proper maintenance. A 10-year-old tank heading into the holidays is living on borrowed time, and no amount of flushing changes the metallurgy of a decade-old steel tank. If your unit is past the 10-year mark, the smart winter prep is getting replacement quotes now — on your schedule, with time to compare — rather than paying emergency rates when it fails on a Sunday in December. Standard tank replacements run $1,200 to $2,800 installed depending on size and code upgrades; tankless installs run $2,800 to $5,000.
Also check the warranty paperwork. Most tanks carry a 6-year tank warranty, with 9- and 12-year options on premium models. If the unit is still under warranty and acting up, a manufacturer-authorized repair may cost you little or nothing — but only if you call before it fails completely.
When to Schedule Professional Service
The ideal window is October through early November: plumbers are not yet slammed with holiday emergencies, parts are in stock, and you have time to schedule a replacement if the inspection turns up bad news. A professional water heater tune-up typically costs $120 to $200 and covers flushing, anode rod inspection, TPR testing, thermostat calibration, gas burner or element inspection, and a check of the expansion tank and shutoff valves.
Call sooner — do not wait for the tune-up window — if you notice rusty or metallic-tasting hot water, rumbling or popping sounds, water pooling around the base of the tank, hot water that runs out much faster than it used to, or a pilot light that will not stay lit. Any of those can signal a tank nearing failure or a gas control problem, and both get worse fast. If water is actively leaking from the tank itself rather than a fitting, the tank has failed and needs replacement; our emergency plumbing team handles after-hours failures. For routine maintenance and honest advice on repair versus replace, see our water heater maintenance tips and reach out through our contact page to book a visit.
Frequently Asked Questions
How often should I flush my water heater in Florida?
Once a year is the minimum because of Florida's hard water, and every six months is better in areas with very mineral-heavy supply. If the water coming out of the drain valve is still dark or gritty after a full flush, shorten the interval. Tankless units need descaling on the same schedule rather than flushing.
Is 120 degrees hot enough for a house full of holiday guests?
Yes for most households. At 120 degrees you get comfortable showers and effective dishwashing, plus meaningful energy savings and slower scale buildup. The only reason to run hotter is a larger household with back-to-back shower demand that outruns the tank's recovery rate — in that case 125 to 130 degrees is a reasonable compromise.
Should I put an insulation blanket on a newer water heater?
Usually not. Heaters built in the last 10 to 15 years have factory foam insulation rated around R-16, and an aftermarket blanket adds almost nothing. Blankets pay off on older tanks with thin insulation, especially units sitting in unconditioned garages or outdoor closets exposed to cold snaps.
How long does a water heater last in Florida?
Tank-style heaters typically last 8 to 12 years in Florida, shorter than the national average because of hard water sediment and corrosive humidity. Tankless units last 15 to 20 years with regular descaling. If your tank is over 10 years old, start budgeting for replacement rather than investing in major repairs.
What does a professional water heater tune-up cost?
Expect $120 to $200 for a full tune-up covering flushing, anode rod inspection, TPR valve testing, thermostat calibration, and burner or element checks. Anode rod replacement adds $150 to $300 if needed, and tankless descaling runs $150 to $250. That is far cheaper than an emergency December replacement.
My water heater is making rumbling noises. Is that urgent?
Rumbling or popping means sediment has hardened on the tank bottom and water is boiling trapped beneath it, which overheats the tank and accelerates failure. It is not an emergency tonight, but schedule a flush within a few weeks. If the tank is over 8 years old and has never been flushed, have a plumber do it in case the tank is too far gone.
Get Your Water Heater Holiday-Ready
Do not let a neglected water heater ruin the holidays. Book a professional tune-up now and head into the busy season with reliable hot water and zero surprises.
📞 Call +1 (850) 904-1147