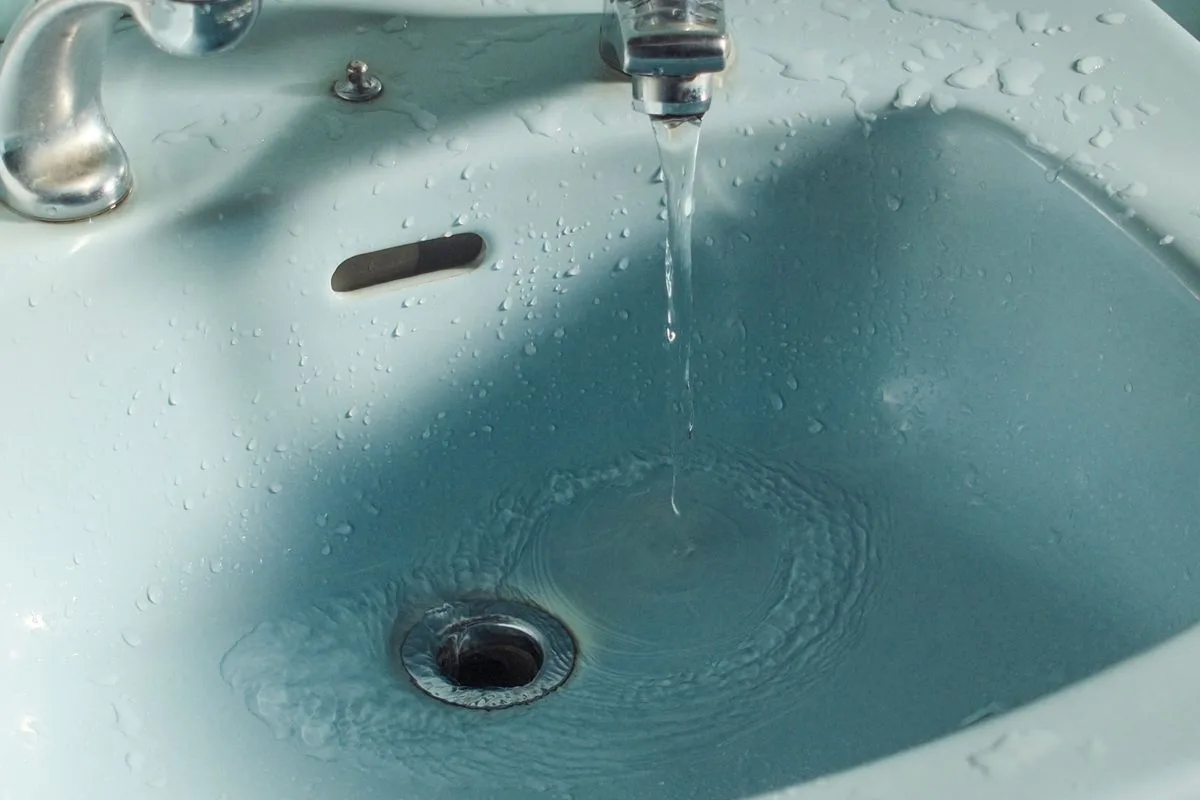
You are brushing your teeth over a bathroom sink that drains slower every week — and learning how to clean a P-trap could fix it in 30 minutes. Water pools around the drain, takes a full minute to disappear, and there is a faint musty smell when you lean in close. Before you reach for a bottle of chemical drain cleaner, look under the sink: that curved J-shaped pipe is the P-trap, and cleaning it out is one of the most satisfying 30-minute DIY plumbing jobs there is.
The P-trap is deliberately designed to catch things. Its bend holds a plug of water that blocks sewer gas from entering your home, but that same bend collects hair, soap scum, toothpaste, shaving cream, and the general sludge of daily life. When enough of it accumulates, water slows to a trickle. The good news: the clog is sitting in a removable section of pipe that was made to be taken apart, cleaned, and put back together.
This guide covers what the P-trap does, how to tell whether cleaning it will actually fix your drain, the exact tools you need, step-by-step removal and reassembly, how to test for leaks afterward, what to know about outdated S-traps, and — importantly — when to put the wrench down and call a professional instead.
What a P-Trap Does and Why It Clogs
Every sink, tub, and shower drain has a trap — a U- or J-shaped bend that always holds a few ounces of water. That water forms a seal between your home and the sewer system. Without it, methane, hydrogen sulfide, and other sewer gases would flow freely up through your drains. The P-trap gets its name from its side profile: the J-bend plus the horizontal trap arm running into the wall looks like a sideways letter P.
The trap does its job by being the lowest, slowest point in the drain path, which is exactly why it clogs. In a bathroom sink, the usual culprits are hair wrapped around the stopper mechanism, soap scum that hardens into a waxy coating, toothpaste, and biofilm — the slimy bacterial layer that gives slow drains their musty smell. In a kitchen sink, it is grease that solidified after being poured warm, food particles, and coffee grounds. None of this is a defect; it is the trap doing what it was designed to do, which is catch debris before it reaches the harder-to-access pipes in the wall.
Traps come in two common sizes: 1-1/4 inch for bathroom sinks and 1-1/2 inch for kitchen sinks, tubs, and showers. Most modern traps are plastic (PVC or polypropylene) with slip-joint nuts that unscrew by hand or with light plier pressure. Older homes may have chrome-plated brass traps that look nicer but corrode from the inside out — if yours is metal and showing green corrosion or flaking, read the section below on when to call a pro before you touch it.
When Cleaning the Trap Helps vs. When the Clog Is Deeper
Trap cleaning fixes the problem only when the blockage is actually in the trap or the short trap arm leading into the wall. Here is how to tell the difference before you start.
Cleaning the trap will likely solve it if only one fixture is slow while everything else drains normally, the slowness developed gradually over weeks or months, water backs up into the basin but eventually drains, or you can see gunk on the stopper and the visible part of the drain. These all point to a localized buildup in the trap itself.
The clog is deeper — past the trap arm, in the branch line or main drain — if multiple fixtures are slow or backing up at once, water gurgles up in the tub when the toilet flushes, the toilet bubbles when the sink drains, sewage backs up into a shower or floor drain, or the sink was fine yesterday and completely stopped overnight with no gradual buildup. A sudden total blockage in one sink can also be a foreign object lodged in the trap arm, but multi-fixture symptoms always mean the problem is downstream of every individual trap.
Tools and Supplies You Will Need
The whole job needs less equipment than hanging a picture. Gather everything before you start so you are not dripping across the kitchen mid-job.
- Bucket or basin — a 2-gallon bucket fits under most vanities; the trap holds roughly a quart of foul water.
- Channel-lock pliers — for slip nuts that will not budge by hand. Use them gently; overtightening cracks plastic nuts.
- Old towels or rags — for the inevitable drips and for wiping the cabinet floor.
- An old toothbrush or bottle brush — for scrubbing the inside of the trap and tailpiece.
- Replacement slip-joint washers — a $2 to $4 assortment pack from the hardware store. The old washers often deform and will not reseal; replacing them is cheap insurance against a slow drip.
- Dish soap — a squirt in the bucket water helps cut the grease and makes the smell bearable.
Optional but useful: a headlamp or phone flashlight, since under-sink lighting is universally terrible, and disposable gloves, because trap sludge is genuinely unpleasant. You do not need pipe dope, Teflon tape, or any sealant — slip-joint traps seal with the compression washers alone, and sealants can actually prevent the joint from seating correctly.
How to Clean a P-Trap, Step by Step: Remove, Clean, and Reassemble
Set aside 30 to 45 minutes. There is no need to shut off the water supply valves — you are working on the drain side, not the supply side — but do make sure nobody runs the faucet while you are under the sink.
- Clear the cabinet and place the bucket. Move everything out from under the sink and center the bucket directly beneath the trap's lowest curve.
- Loosen the two slip nuts. One nut connects the trap to the tailpiece coming down from the sink; the other connects the trap arm to the wall stub-out. Try by hand first, turning counterclockwise. If they resist, use channel-lock pliers with light, steady pressure — grip the nut, not the pipe.
- Lower the trap into the bucket. Water and sludge will spill as the trap comes free. Tip the trap to pour out its contents, then pull the trap arm out of the wall fitting.
- Inspect what came out. A wad of hair around the stopper linkage, a gray plug of soap scum, a pebble-like lump of hardened grease — identifying the culprit tells you what habit to change.
- Scrub everything. Use the toothbrush and dish soap to scrub the inside of the J-bend, the tailpiece, and the trap arm. Biofilm clings to plastic; if you only rinse, the smell comes back within weeks.
- Check the tailpiece and stopper. While the trap is off, look up into the tailpiece and pull the sink stopper to clear hair wrapped around it. On pop-up assemblies, unscrew the pivot rod nut behind the tailpiece to free the stopper completely.
- Reassemble with new washers. Slide the nuts onto the pipes first, then the washers — tapered washers go with the tapered side facing the nut. Hand-tighten each nut, then give it an extra quarter-turn with the pliers. Snug, not heroic: overtightened plastic nuts crack and then you are making a hardware store run.
- Run water and check for leaks. Run the faucet at full blast for a full minute, then fill the basin halfway and release it all at once — the surge tests the joints under real load. Watch every joint with a dry finger or a piece of toilet paper, which shows even a slow weep. Tighten a quarter-turn more if you see moisture; if a joint still drips with a new washer, the nut or pipe threads may be cracked and need replacement.
A brand-new plastic P-trap assembly costs under $15 at any hardware store, so if the old one is discolored, warped, or has damaged threads, just replace the whole thing rather than fighting it. Ten extra minutes now beats a callback leak in a month.
Check the Trap Arm While You Are Down There
The trap arm — the horizontal pipe from the J-bend to the wall — deserves its own inspection because it is where the next clog forms. Shine a light into it and feel inside with a finger (gloved). If the walls are narrowed by crusty scale or greasy buildup, scrub it with the bottle brush or replace it; trap arms are cheap and sold in the same aisle as traps.
Check two more things. First, the wall stub-out: if the pipe entering the wall is corroded, crumbling, or leaking around the escutcheon plate, stop — that is wall-pipe territory and needs a plumber. Second, the slope: the trap arm should pitch gently downward toward the wall, about a quarter-inch per foot. An arm that sags or runs uphill will chronically hold water and clog again within months.
A Note on S-Traps and Code
If your sink drains straight down through the floor with an S-shaped curve instead of running horizontally into the wall, you have an S-trap — common in pre-1980s homes and no longer allowed by modern plumbing codes. The problem is physics: water rushing down the vertical leg can siphon the trap dry, breaking the water seal and letting sewer gas into the home. That musty or rotten-egg smell that comes and goes is the classic symptom.
You cannot fix an S-trap by cleaning it. The correct remedies are reconfiguring the drain to a proper P-trap with a vent connection, or installing an air admittance valve (AAV) under the sink where code allows — the AAV lets air in to prevent siphoning without needing a vent pipe through the roof. Either fix involves opening up the drain routing, which is a plumber's job, but it permanently solves both the smell and the chronic slow drainage that S-traps cause.
When to Stop and Call a Pro
Trap cleaning is a great DIY task with clear boundaries. Stop and call a plumber if the trap or tailpiece is chrome or brass and corroded — old metal traps often crumble when you grip them, turning a cleaning into an emergency; if a slip nut will not budge with moderate plier pressure and the pipes are old, forcing it can crack the wall stub-out; if the wall pipe itself leaks, is soft, or shows water damage on the drywall around it; if the same sink clogs again within weeks of a thorough cleaning, which points to a partial blockage or belly in the line past the trap arm; or if multiple fixtures are affected, which means a branch or main line issue that needs a cable machine. For deeper blockages, see our comparison of DIY vs. professional drain cleaning, and for prevention habits that keep traps clearer longer, read how to prevent drain clogs. If you would rather not deal with it at all, our leak repair team handles trap replacements and under-sink work, and you can reach us through our contact page.
Frequently Asked Questions
How long does it take to clean a P-trap?
About 30 to 45 minutes for your first one, including cleanup. Once you have done it, the next trap takes 15 minutes. Most of the time goes to scrubbing out the biofilm and leak-testing the reassembly — do not rush those steps.
Do I need to turn off the water to clean a P-trap?
No. The water supply valves control water coming into the faucet; the P-trap is on the drain side, which only carries water away. Just make sure nobody runs the faucet while the trap is removed, or you will have water pouring into the open cabinet.
Why does my sink smell worse right after I cleaned the trap?
Usually yes — cleaning removes the clog but stirs up the biofilm living in the trap, and the smell fades as the fresh water seal settles. If a rotten-egg smell persists for more than a day, the trap may be siphoning dry (common with S-traps) or the vent may be blocked, and that needs a plumber's diagnosis.
Can I just use chemical drain cleaner instead of removing the trap?
Skip them. Chemical drain cleaners generate heat and can warp plastic traps, etch porcelain, and damage the rubber washers — and if the cleaner fails, you are left disassembling a trap full of caustic chemicals. Mechanical cleaning is safer, cheaper, and actually removes the clog instead of partially dissolving it.
Should I replace my metal trap with a plastic one?
Plastic (PVC or polypropylene) is the better choice for most homes: it never corrodes, costs under $15 for a full assembly, and the slip joints are forgiving. Chrome-plated brass looks better in exposed installations like pedestal sinks, but it corrodes from the inside and typically needs replacement every 10 to 15 years.
How often should P-traps be cleaned?
Every 1 to 2 years for bathroom sinks, or whenever drainage noticeably slows. Kitchen sinks with garbage disposals benefit from annual cleaning. If a sink needs trap cleaning more than twice a year, something upstream — like a grease habit or a partial line blockage — is the real problem.
Slow Drain That Won't Stay Fixed?
If your sink keeps clogging after a thorough trap cleaning, the blockage is deeper than the trap. The local pros we connect you with clear it fast with professional equipment — no mess left behind.
📞 Call +1 (850) 904-1147